Domain names are bought from domain registrars, there are many domain registrars out in the market such as GoDaddy, porkbun, Cloudflare, Namecheap, etc. The two big domain registrars are GoDaddy and Namecheap.

I have used both GoDaddy and Namecheap and have so far bought 2 domains. electroica.com [from GoDaddy] and designzig.com [ from Namecheap] and I find Namecheap is much better than GoDaddy for me.
Why Namecheap is better than Godaddy?
- Simple & easy to use.
- Non-pushy on upsell & addons.
- Less FOMO driven.
- Less flashy
- Great price
- Free privacy protection which GoDaddy charges for.
So, without a doubt I will go for namecheap.com to buy a new domain yourhustlepod.com to make this follow-along tutorial.
Step 1 : Go to Namecheap website Namecheap.com
Open your favorite browser and goto namecheap.com
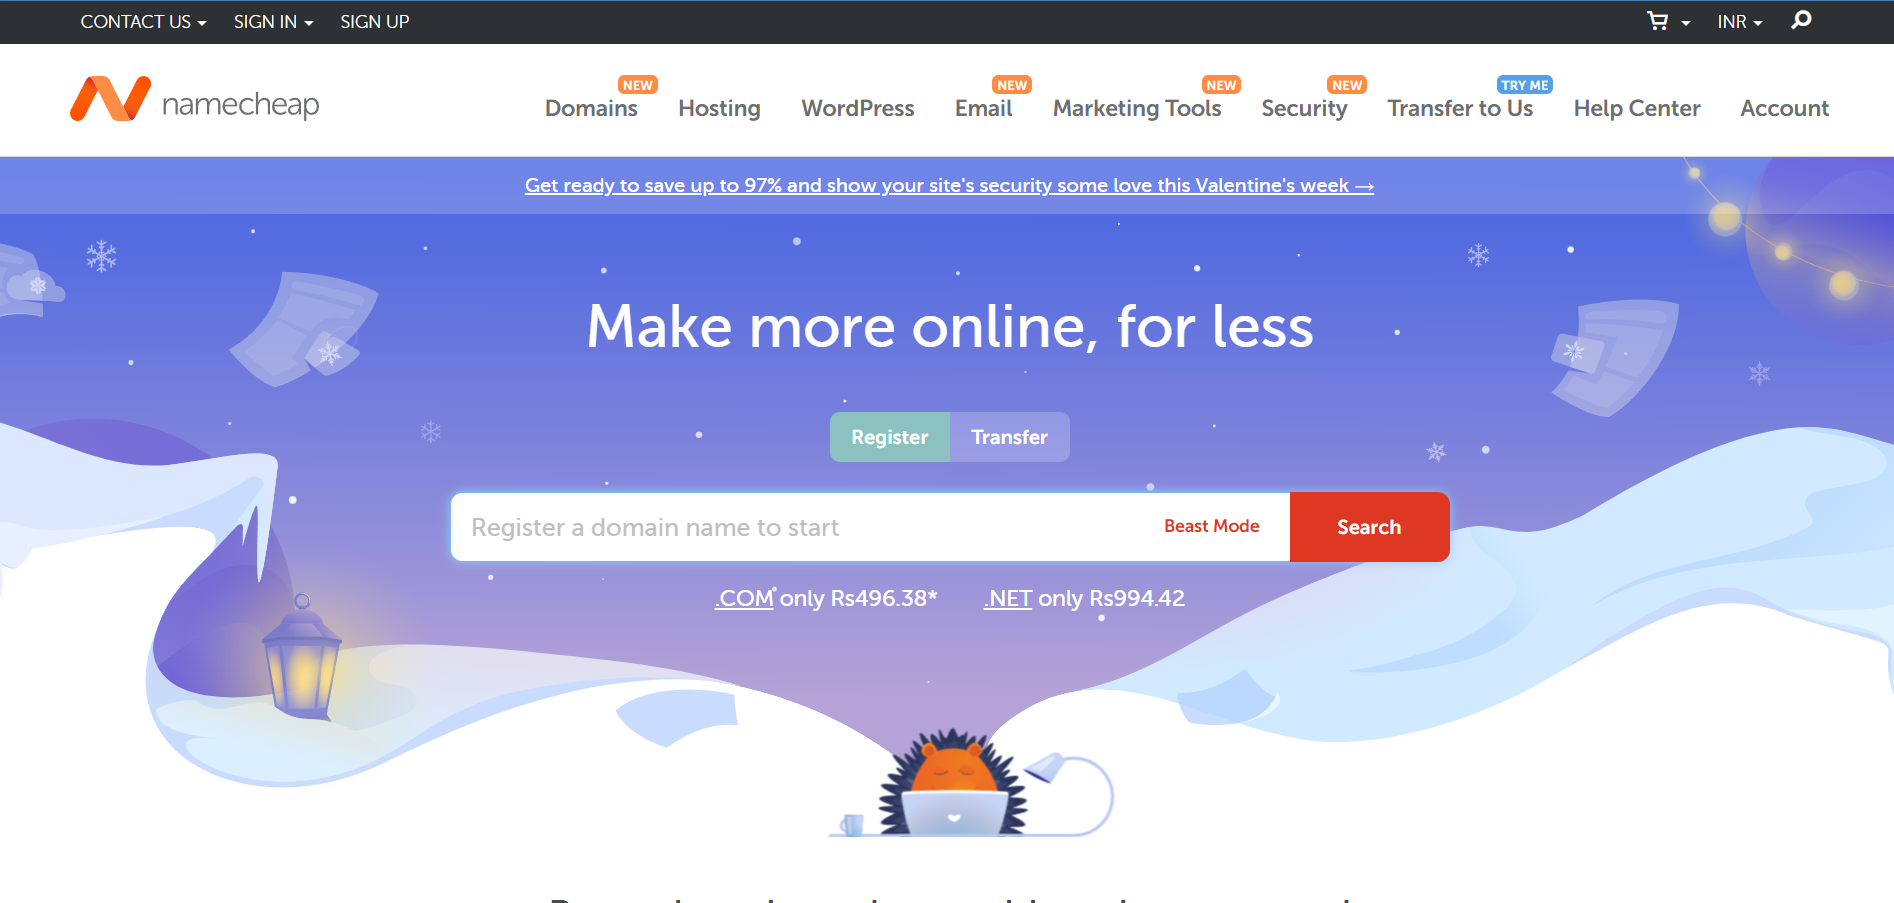
Step 2: Search a domain
Enter the domain you are planning to buy in the search bar and click on the red search button. Use beast mode to filter and search domain based on keyword and get suggestions and recommendations.
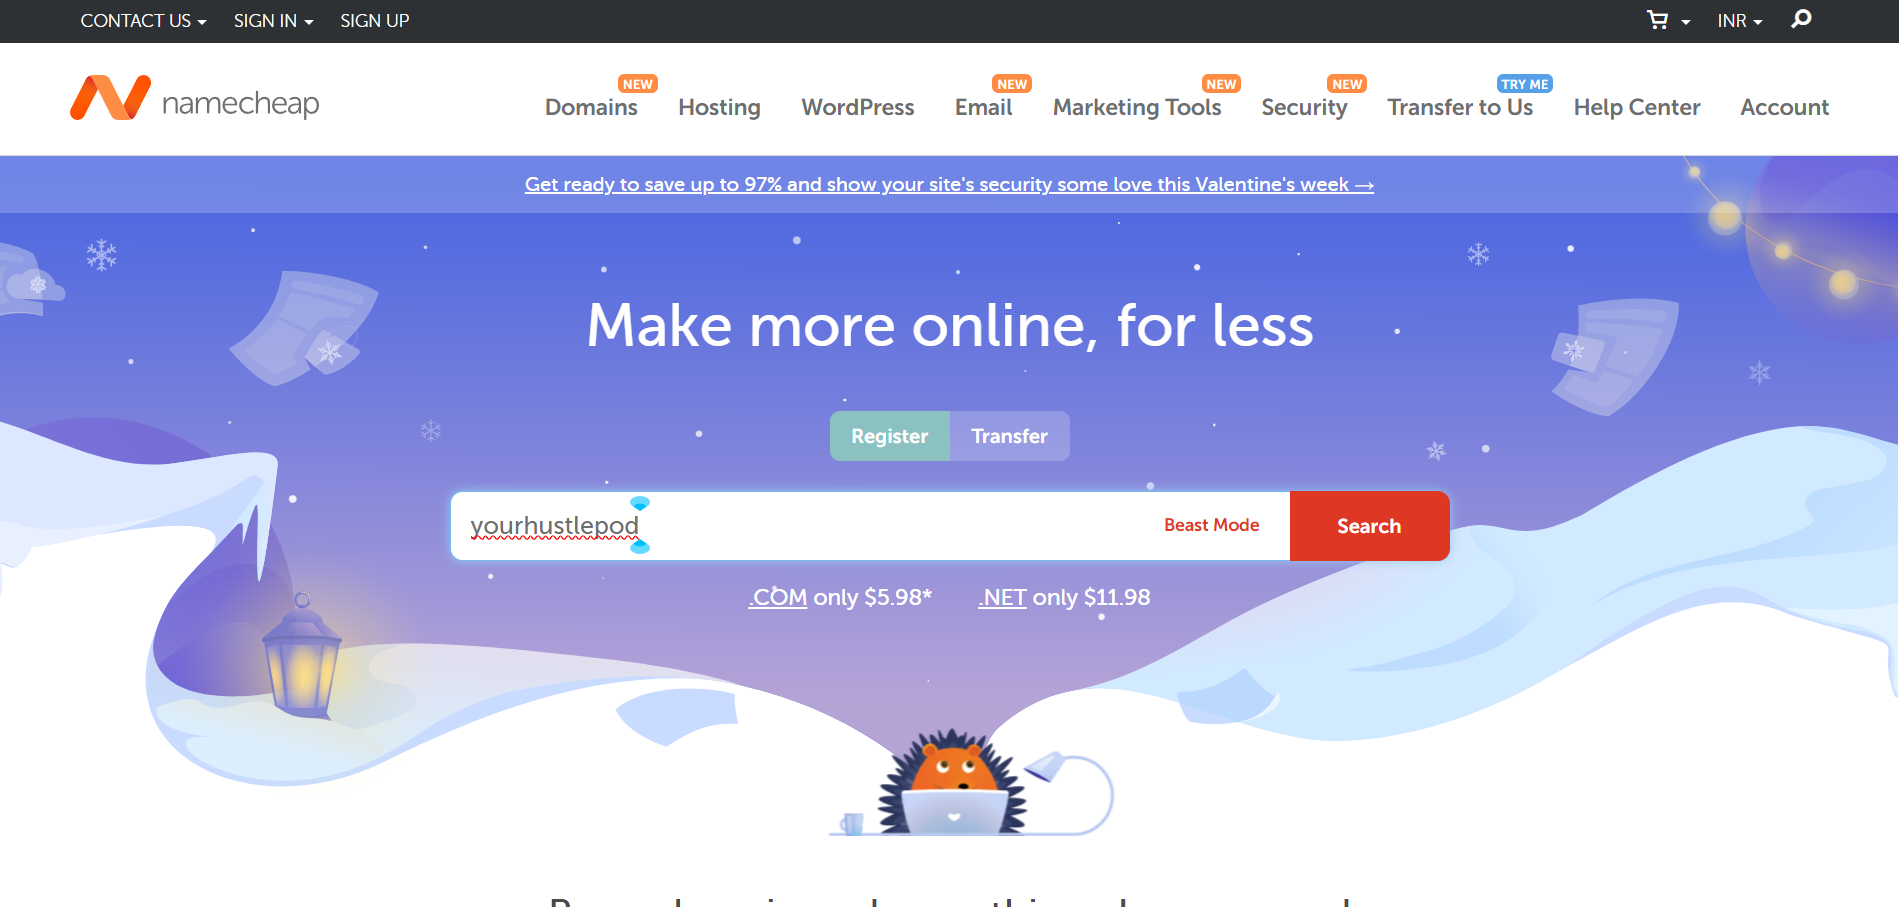
Step 3: Check Domain availability & price
After clicking on the search button namecheap will check if the domain name you want to buy is available or not. in my case youthustlepod.com was available at Rs. 662 for first month and it renews at Rs. 1,160.
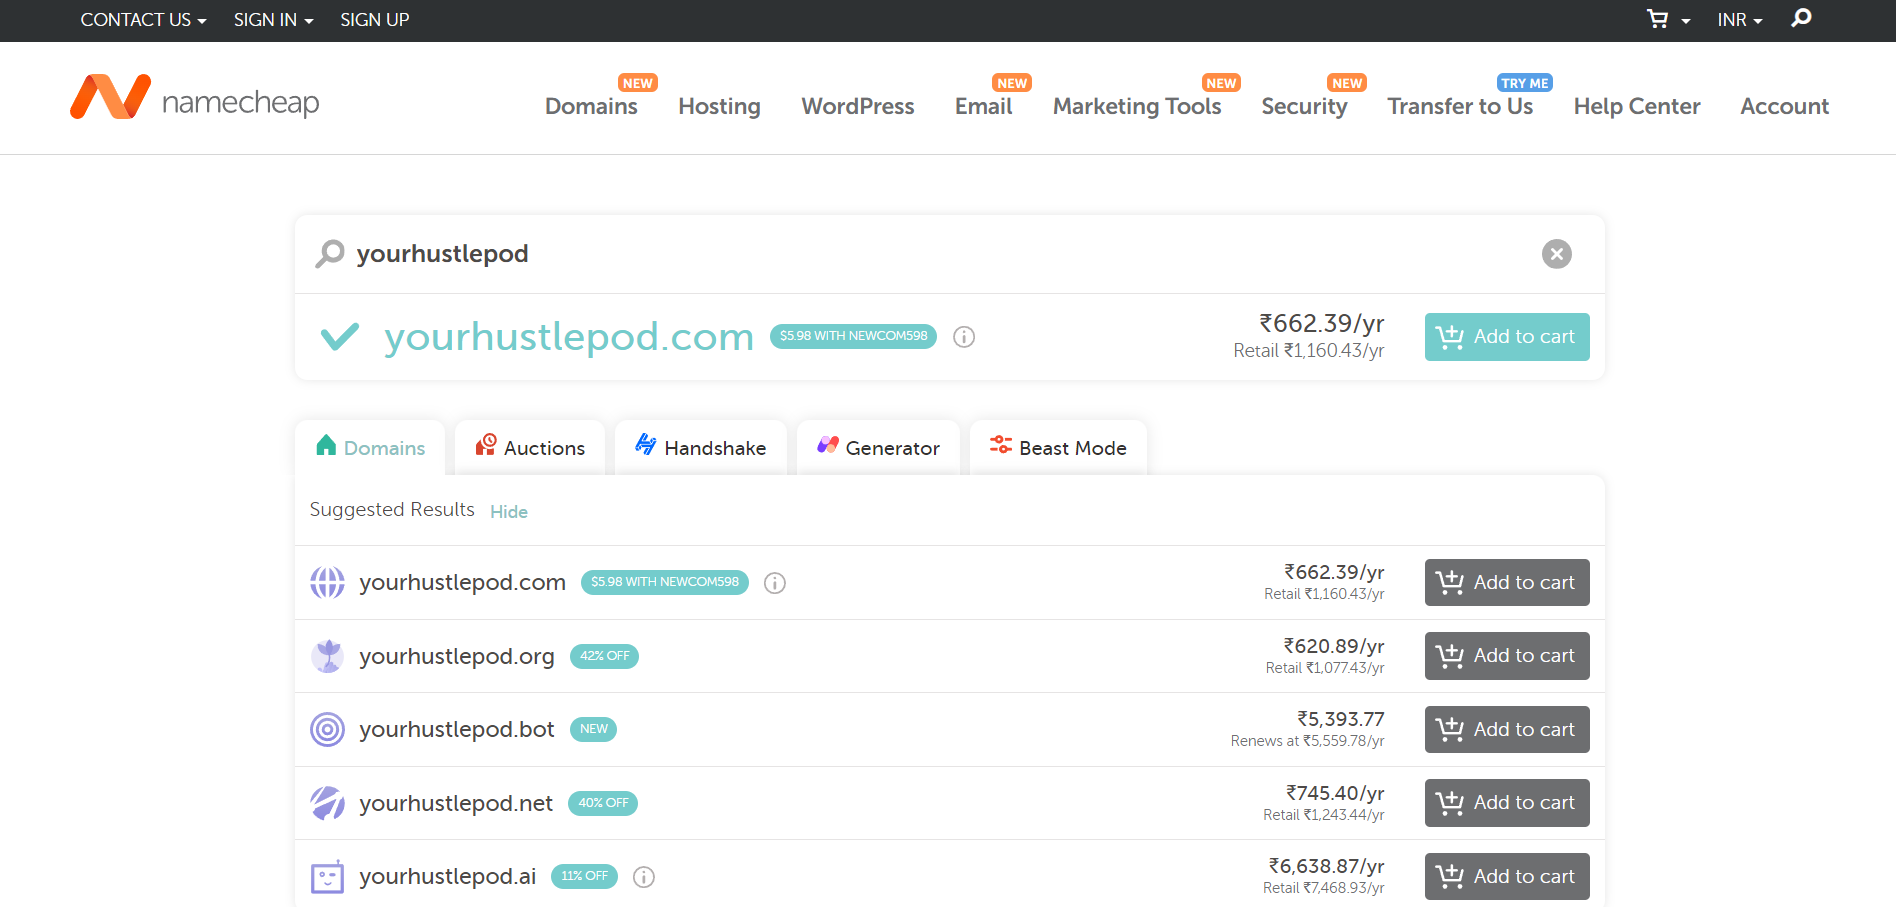
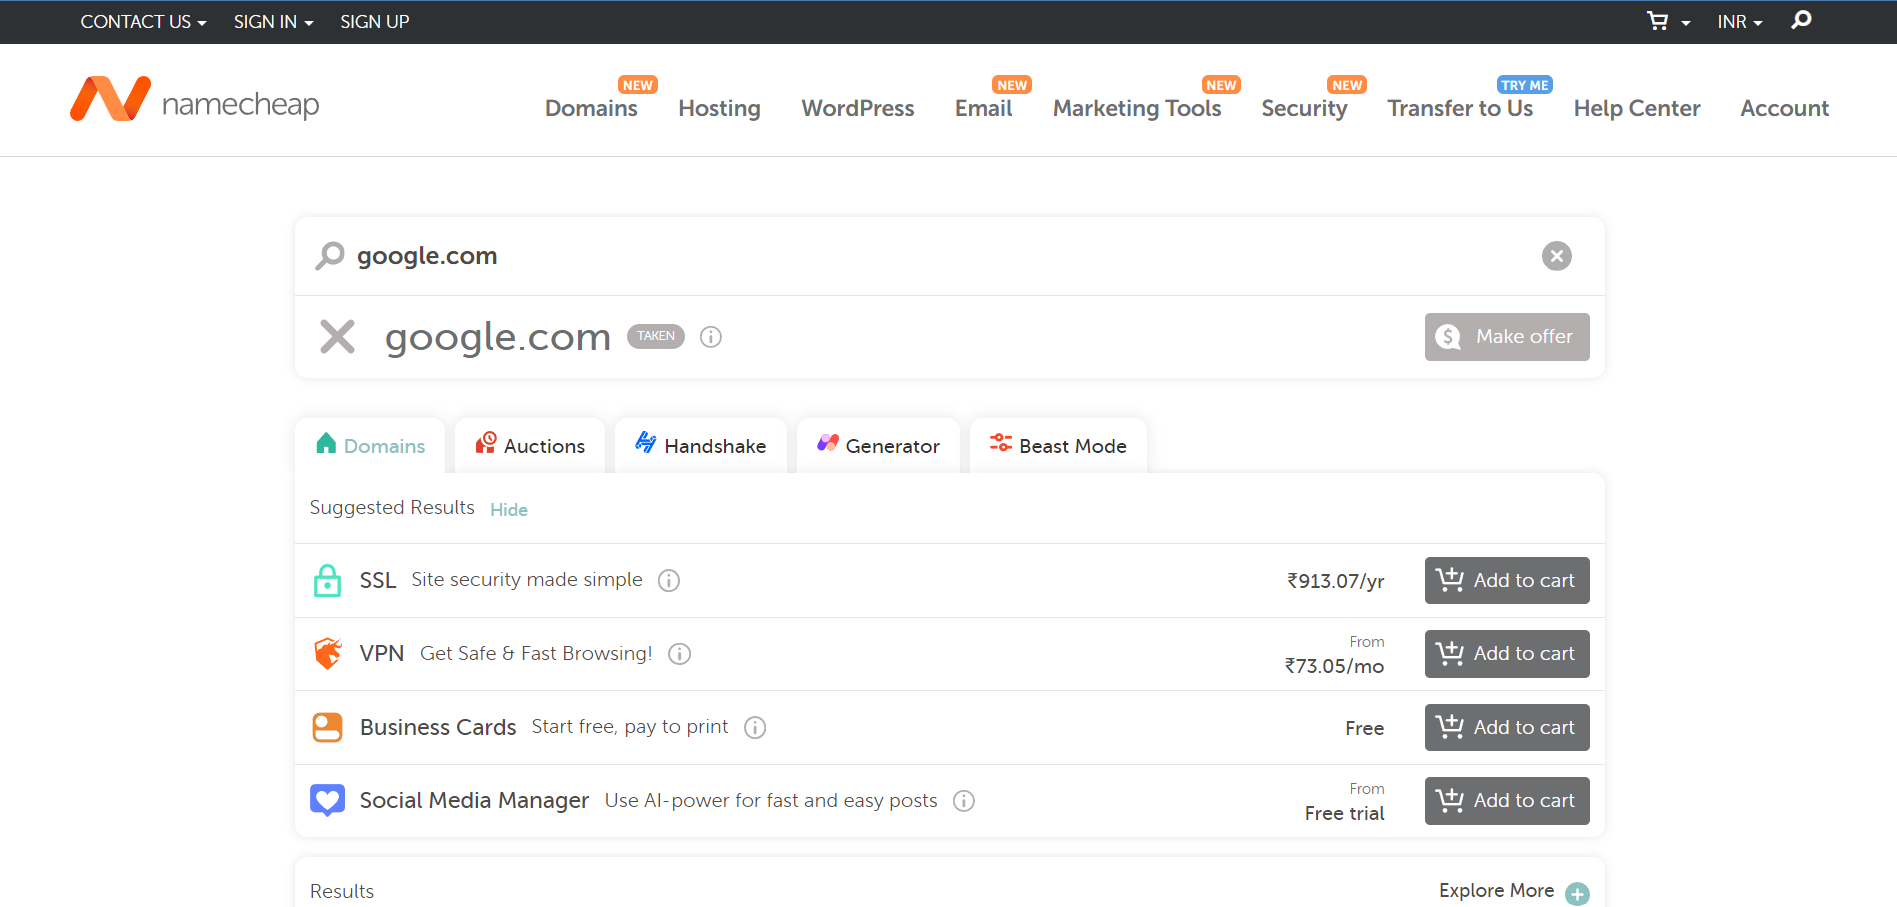
Do check the retail price and the renewal cost before buying your domain because almost all the domain registrars offer heavy discounts at domain registration and then charge the full amount at the time of renewal.
Check the domain renewal price at www.namecheap.com/domains/the
Step 4: Add to cart
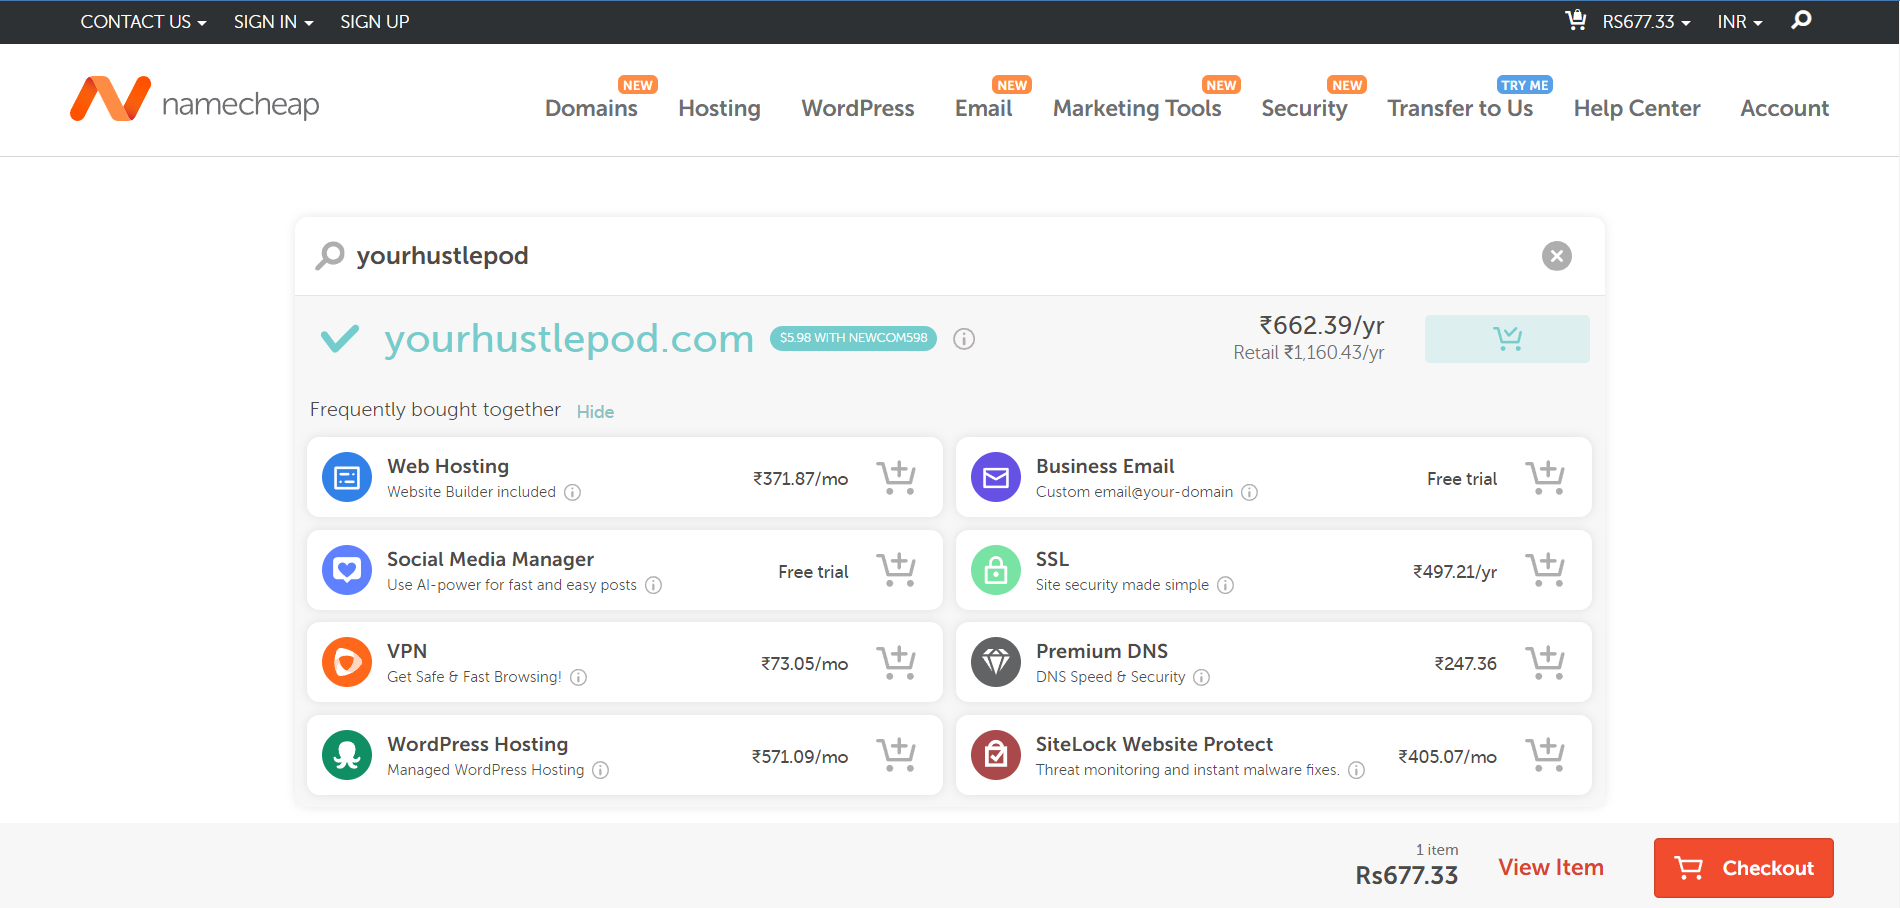
If you are happy with the price, click on add to cart.
After clicking on add to cart the card expands to show other services you can buy with the domain. I will skip it for now as I don’t need any other service from Namecheap as of now.
Step 5: Checkout
After clicking on the checkout button you will see this page which shows the details of your purchase.
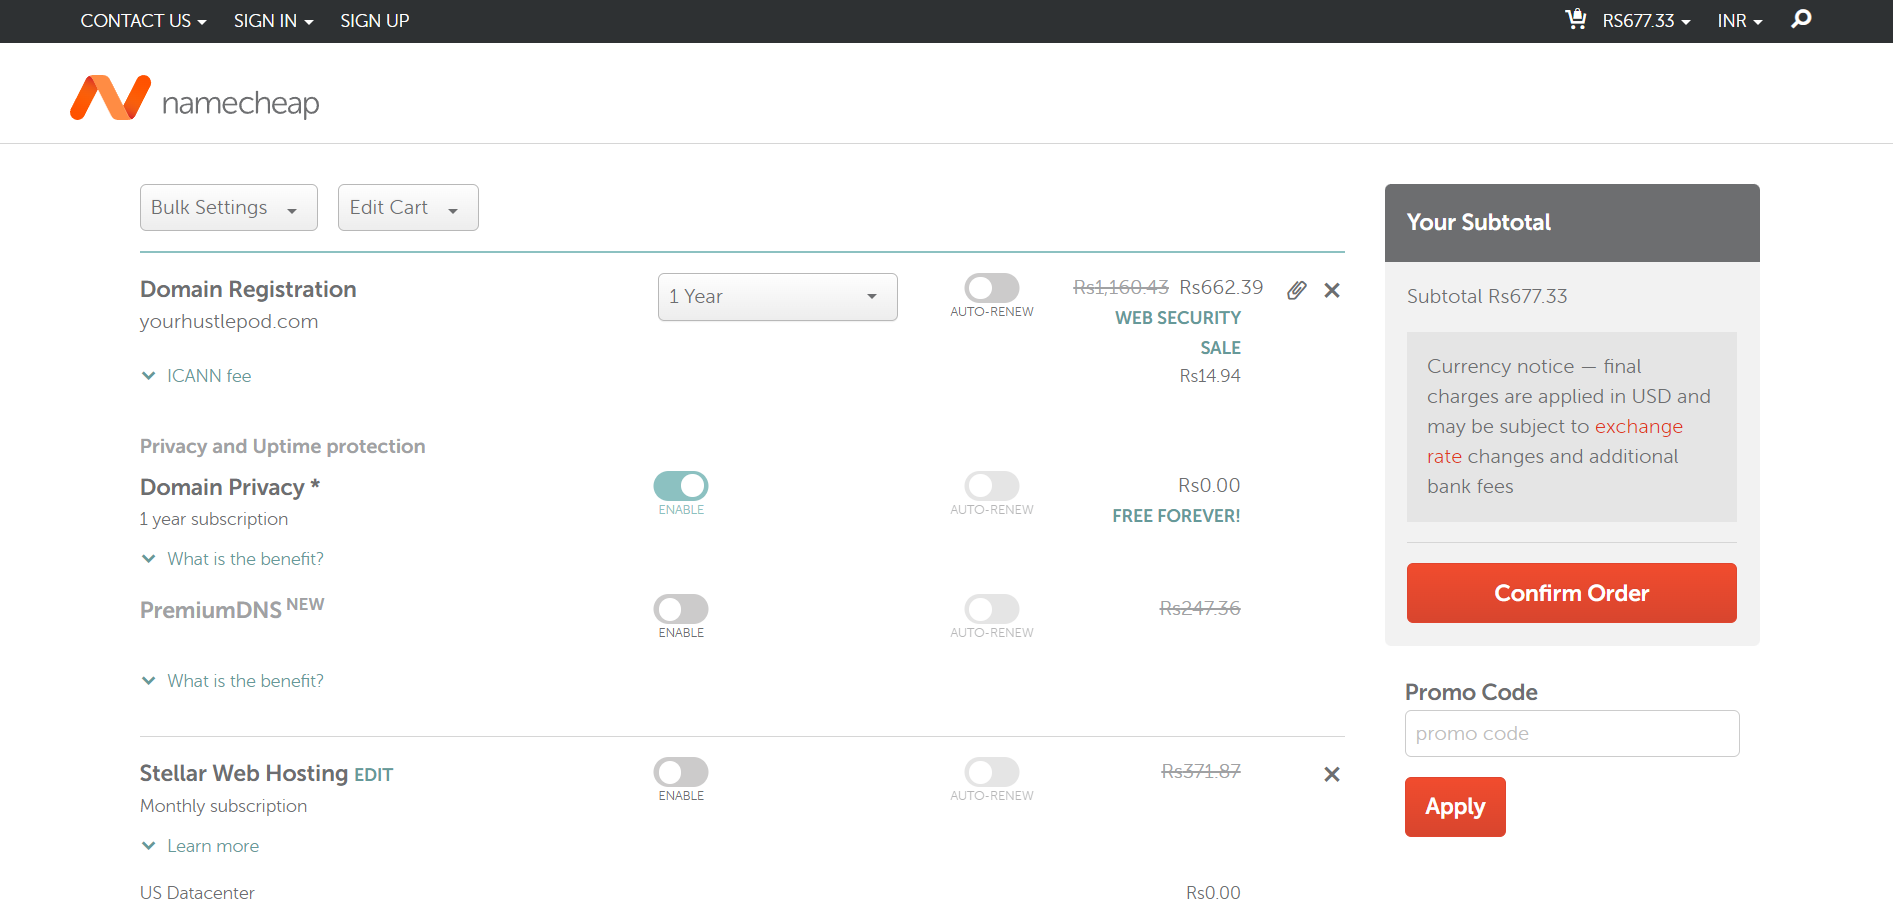
- Domain Registration
- Domain Privacy which is helpful to hide your registration information from the Whois database which is a global database of domain names and who owns the domain. P.S. This comes free if you buy a domain name with Namecheap, but if you buy with Godaddy they charge for this..
- Since I will be self-hosting my ghost CMS blog on Digital Ocean I will skip, steller web hosting and premium DNS for now.
Step 6: Create an account
Click on Confirm the log-inan order Confirm and you will be asked to login or create and account. Fill your email, password, Name, and other details to create an account.
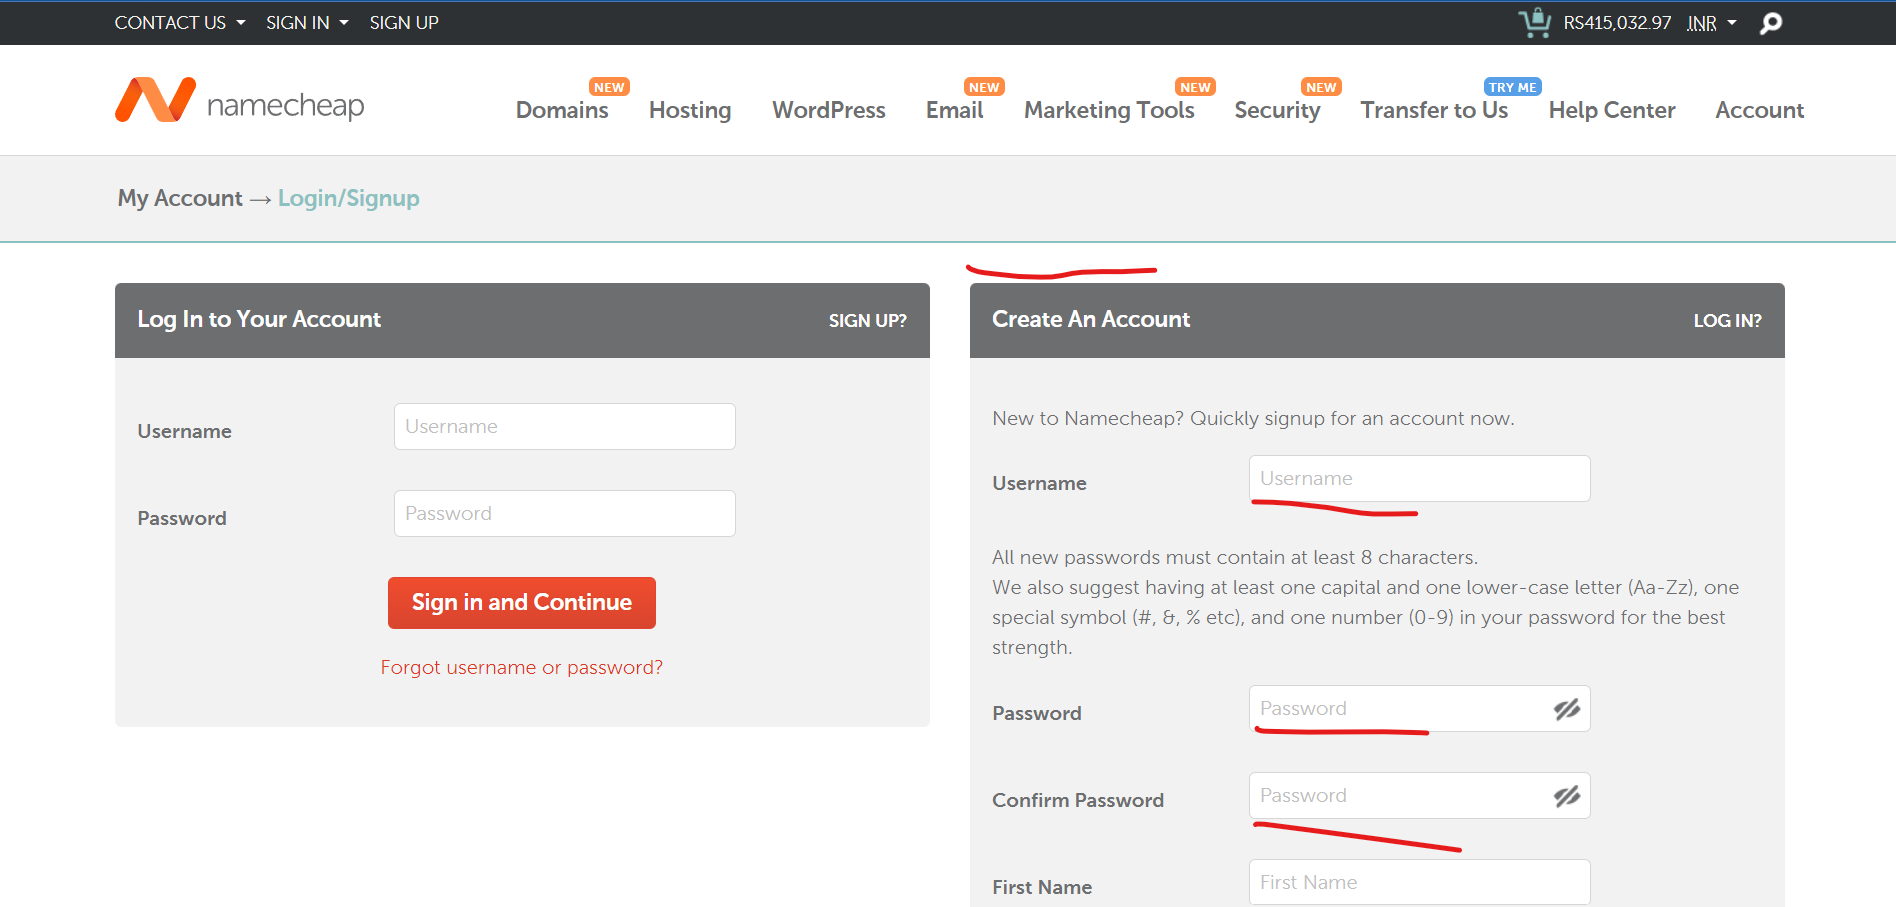
Create an account form.

Step 7: Confirm Order
Once you have created your account you will be redirected to the shopping cart screen.
On the shopping cart screen click confirm order.
After you have clicked on the confirmed order you will be asked to add Contact Information.

Once you have added the contact information click continue and you will come on the payment page.
Choose, the method of payment and add the required information.

Once the order is processed and payment is confirmed you will see the order confirmation screen.

To change the DNS , and domain settings you can access your domain from the Namecheap dashboard.
That's it it was that easy to buy a new domain and start your journey on the web.
